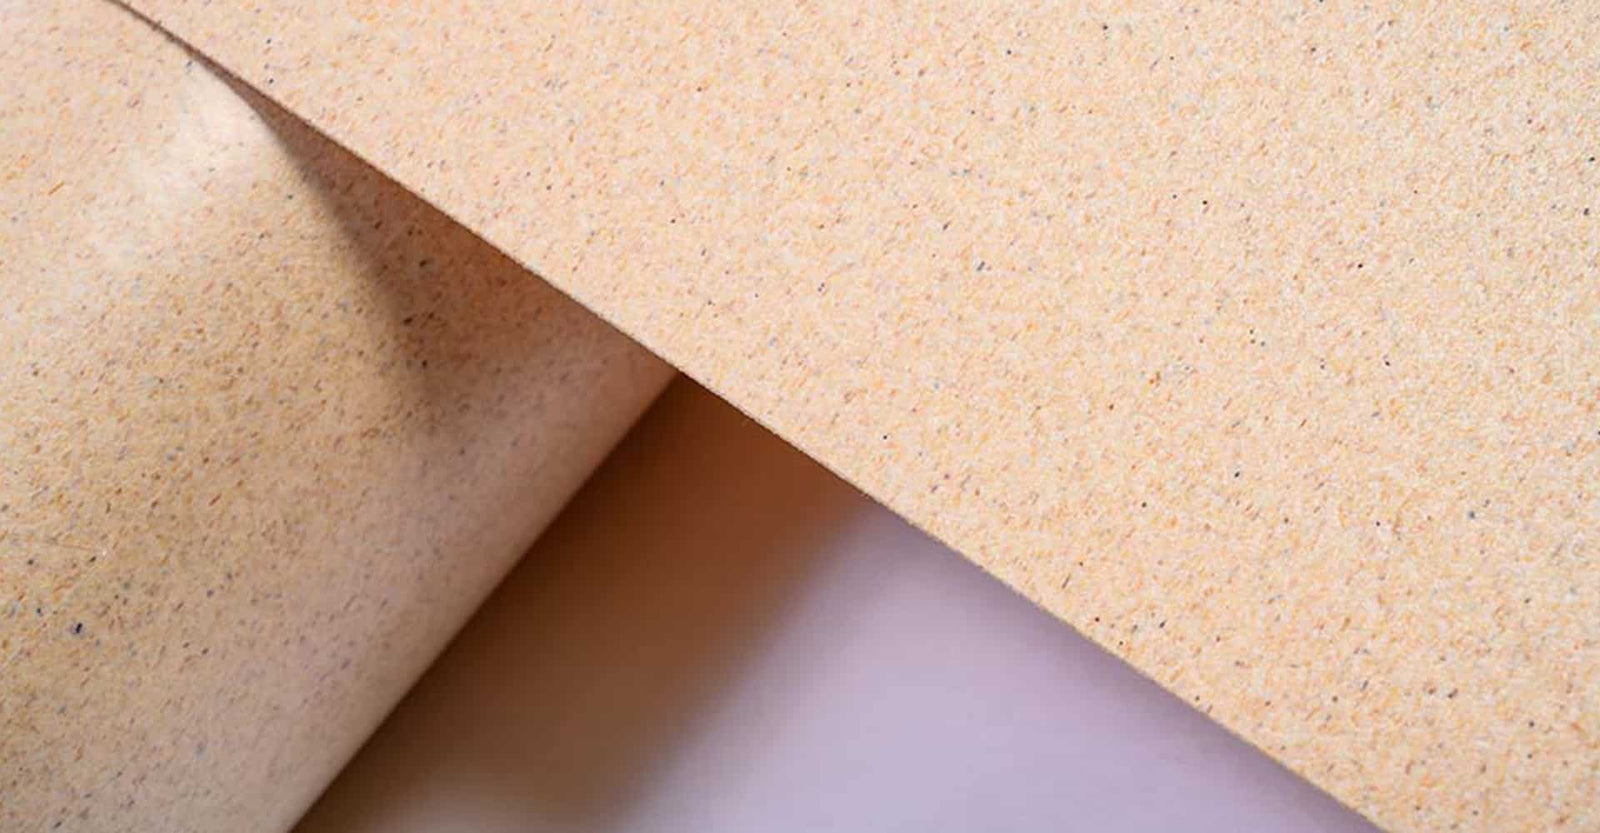
When you’re building a cosplay from scratch or even just building customized accessories for cosplay, there is a wide variety of materials to use. One of the best choices for armor pieces, jewelry pieces, accessories, and so much more is a thermoplastic material called Cosplayflex. Thermoplastics are a type of material that is great for cosplay creations because they can be heated up and molded into just about any shape you can imagine! From creating custom-sized jewels, bevels, and detailing to creating a large, rigid shield from scratch, Cosplayflex is a top material choice among cosplayers. Keep reading to learn more about the basics of using Cosplayflex and if you’re a visual learner, visit The Life of the Party’s YouTube video to see a step-by-step breakdown of how to use the material.

Necessary Tools
Before you get started with using Cosplayflex from The Life of the Party, you’ll want to gather the tools and materials you’ll need for your project. What you will need the most is a heat gun, scissors, and a heat-resistant workspace. This workspace can be an old cutting board, a workbench, or any other surface that will not warp or bend under high temperatures and that you don’t mind getting dirty. If you don’t already have a heat gun and scissors, many hardware stores and even some craft stores will carry a range of budget-friendly options! In addition to the necessary tools, you will need, other recommended items you should have include heat-resistant gloves (simple cotton gloves may also work), EVA or craft foam sheets, and shaping tools such as molds, carving tools, or forms. One last item that can be useful is a reference photo if you’re trying to create an item for a particular cosplay.

Molding Your Material
Once you have everything that you need, you can get started! Set up your workspace and be sure to have your reference photo nearby so you can track your progress as you go. From there, cut your Cosplayflex into pieces that you can work with using your heat gun on your workspace. Using your heat gun, direct the hot air at your Cosplayflex material from a few inches away. To avoid overheating one section of the material, keep your heat gun moving constantly over the surface area of the Cosplayflex and try not to concentrate the heat in only one area. Once the material is heated to 194°F or higher, it will be moldable for several minutes, so you can use that time to create shapes and form using the tools you have gathered.

Creating Detail and Structure
As you’re working with your Cosplayflex, be sure to hold on to any scraps or smaller pieces of material as you’re cutting it down to size and working with it. These are great for creating detail and adding to the structure of your molded pieces. Simply heat up these smaller pieces and start folding them into clumps of material as they heat — they’ll begin to melt together into a doughy substance that can be pressed into molds or shaped into detailing for your cosplay item. Additionally, these scraps can be used along with your craft foam or instead of craft foam to add thickness and strength to your finished product.

Build Your Cosplay Accessories
When you’re finished heating, molding, and sculpting your Cosplayflex, you can then add the finishing touches. Because it’s so versatile, you can either sand the material to smooth it down or you can add layers of paint to add the color, texture, and dimensions you’re aiming for. Once you’ve got the colors and textures you want, seal them with a clear coat of paint and your piece is ready to add to your cosplay!
Cosplayflex is an incredibly versatile material and is great for all kinds of cosplays, from warriors with shields and weapons to sci-fi characters with robotic parts and so much more. Shop for your Cosplayflex at The Life of the Party in-person or online today!

